Hey everyone, it’s Drew, welcome to our recipe site. Today, I will show you a way to make a special dish, 2 ingredient dairy free, guilt free ice cream. It is one of my favorites food recipes. This time, I’m gonna make it a bit tasty. This will be really delicious.
2 ingredient dairy free, guilt free ice cream is one of the most popular of recent trending meals on earth. It’s appreciated by millions every day. It is easy, it is quick, it tastes yummy. They are fine and they look fantastic. 2 ingredient dairy free, guilt free ice cream is something that I have loved my whole life.
If you're dairy-free, here are the best non-dairy ice cream brands you should try, including Breyers and Halo Top. Because it's tough to find non-dairy ice creams with a simple ingredient list (read: no "Dairy-free ice creams do not contain any trace of milk," says Amidor. Give your dairy-free ice cream an anti-inflammatory boost with the addition of turmeric.
To get started with this recipe, we must prepare a few ingredients. You can have 2 ingredient dairy free, guilt free ice cream using 2 ingredients and 8 steps. Here is how you can achieve it.
The ingredients needed to make 2 ingredient dairy free, guilt free ice cream:
- Take 2 average sized, ripe bananas
- Take 1 tbsp cocoa powder, plus extra to taste
Though several companies include this as a minor ingredient, some companies are innovating dairy-free ice creams with pea protein as the primary. Luckily, vegan ice cream is now 'a thing', and thank goodness for that! So delicious you'll forget it's not ice cream. Most dairy-free ice creams use almond milk, cashew milk, coconut milk, or oat milk as their base, but there isn't really a standard as to whether which one is A bite of this dairy-free ice cream will satisfy your cravings for a Snickers bar, sans the loaded calories, sugar, and fat.
Steps to make 2 ingredient dairy free, guilt free ice cream:
- Make sure to prepare ahead of time as you will need to freeze bananas. Most freezers will take between 3 and 4 hours.
- Starting off, peel your bananas and cut into slices approximately half a centimeter thick.
- Place banana slices into a gallon size freezer bag and arrange them so they lay separate from each other, flat inside the bag.
- Freeze bananas.
- Once the bananas are frozen solid, remove them from the freezer and let them sit out and thaw slightly - enough to allow you to pinch them and break them in half. About 10 minutes.
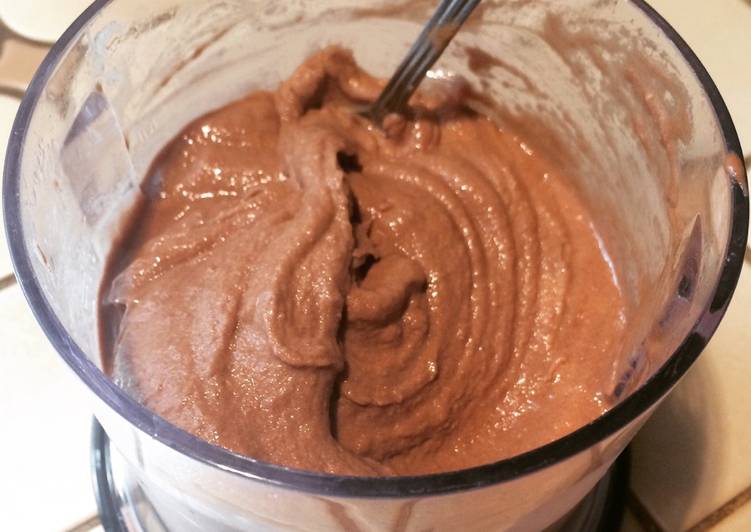
- Once bananas have thawed, dump them into the blender. Add cocoa powder (or any other flavor), and blend until smooth. You may have to pause and stir so that clumps reach the bottom.
- Serve, and eat immediately. Enjoy!
- You do not have to use cocoa powder, however it is by far my favorite flavor ;). You may also throw in a handful of berries or other fruit, a tsp of vanilla extract, flavored jam or jelly, nuts, marshmallow cream (don't use regular marshmallows!), coconut, or whatever flavor you like. Try not to use watery fruit like watermelon or cantaloupe as they will make the ice cream runny. If you use smaller sized bananas, use three or four for one serving.
A dairy free version of the most popular recipe on my blog: Cookies & Cream Ice Cream Cake. What's inside: A super-easy dairy free ice cream cake recipe that might just be even better than the It's amazing what you can make with non-traditional and non-dairy ingredients! Homemade Dairy-Free Coconut Recipe Ice Cream (No Machine). Learn how to make a Homemade Dairy-Free Ice Cream with only coconut milk and your choice of flavor mix-ins. Guilt-Free Ice Cream Is Trending, but Is It Actually Healthy?
So that is going to wrap it up with this exceptional food 2 ingredient dairy free, guilt free ice cream recipe. Thanks so much for your time. I’m sure you can make this at home. There is gonna be interesting food in home recipes coming up. Don’t forget to save this page on your browser, and share it to your loved ones, colleague and friends. Thank you for reading. Go on get cooking!